Faster filling is not simply a matter of increasing pump speed. A small change can ripple through the line: a nozzle may foam, a bottle may wobble, or a rushed operator may miss a checkweigher alert. The real goal is steady output with every fill inside its target range. That is what how to improve filling speed without losing accuracy means in practice: remove avoidable delays while protecting the controls that catch variation.
Deloitte and the Manufacturing Institute’s 2025 Smart Manufacturing Survey found that 92% of surveyed manufacturers expect smart manufacturing to drive competitiveness within three years. That finding supports a practical approach: use reliable line data, not guesswork, to identify slow cycles, changeovers, and recurring adjustments. Track fill-weight variation alongside units per minute. Review nozzle condition, product temperature, pressure, and container positioning before changing machine settings. Small trials are safer than large, unverified speed increases. One line’s results may not transfer neatly to another.
Quality-management expert W. Edwards Deming is widely associated with this reminder: “Quality is everyone’s responsibility.” On a filling line, that means operators, maintenance teams, and quality staff all have a role in protecting accuracy. No line runs perfectly. Some improvements will disappoint; record those results, too. The following seven tips focus on measurable adjustments, routine checks, and operator feedback. They aim to help teams increase throughput without treating accuracy as an optional trade-off.
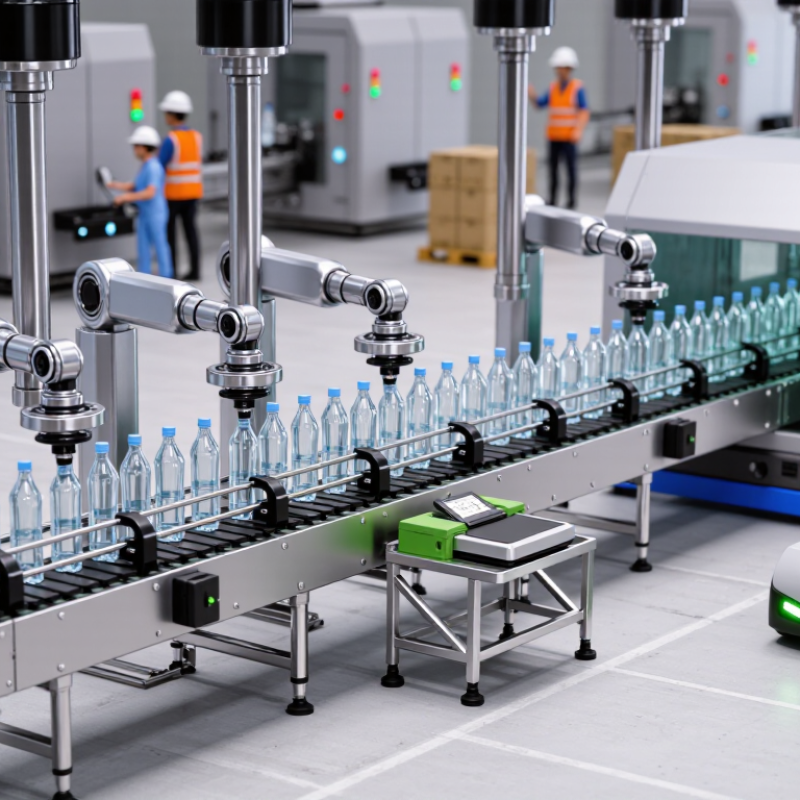
Filling speed depends on more than pump capacity. Product viscosity, temperature, container shape, nozzle height, and air bubbles all affect the dose. A thick syrup may need a slower final flow, while a foaming liquid needs time to settle. Small changes matter. NIST/SEMATECH’s e-Handbook of Statistical Methods notes that, for a stable normal process, about 99.73% of results fall within three standard deviations of the mean. That is not a guarantee: drifting temperature or inconsistent product flow can make the calculation misleading. OIML R 61 also sets metrological requirements for automatic gravimetric filling instruments, underscoring the need to verify measurement performance.
Tip: Measure before speeding up. Record fill weights at the start, middle, and end of a run, alongside product temperature and line speed. If weights drift, check for a worn valve, changing tank level, or residue on the nozzle. A faster cycle is not an improvement if it creates more rejects.
Tip: Adjust in small steps. Change one setting at a time, such as the fast-to-slow cutoff, then weigh a fresh sample. Keep the same containers and product conditions during each test. I would not trust one clean trial; real lines are less tidy. Recheck after a product change or a long stop, and document the results against your site’s approved tolerances.
| Factor | How It Affects Filling | Speed Improvement | Accuracy Safeguard | What to Monitor |
|---|---|---|---|---|
| 1. Product viscosity and temperature | Thicker or temperature-sensitive products may flow more slowly and less consistently through the same filling path. | Keep the product within its approved processing-temperature range and use a filling method suited to its flow characteristics. | Confirm product temperature and flow are stable before increasing the line rate; avoid changing temperature beyond product specifications. | Product temperature, flow consistency, fill time, and variation in fill weight or volume. |
| 2. Nozzle flow and shutoff | Nozzle restrictions, drips, or delayed shutoff can slow cycles and cause inconsistent fills or messy containers. | Clean and inspect nozzles routinely; use a suitable nozzle size and shutoff setting for the product. | Check for drips, stringing, foaming, and splashing at the target operating rate. | Fill duration, post-fill dripping, nozzle condition, and rejected containers. |
| 3. Fill speed and cutoff timing | Faster flow can increase splashing, foaming, or overshoot, especially when the system stops dispensing. | Use a fast initial fill followed by a slower finishing phase when the equipment supports staged filling. | Set the changeover and cutoff using measured results, then verify the fill level or weight across the operating cycle. | Target-versus-actual fill, overshoot, foam level, and variation between consecutive containers. |
| 4. Product settling and air bubbles | Settling, entrained air, or foam can make a volume-based fill appear inconsistent and may affect measured weight. | Use appropriate mixing or recirculation where permitted, and allow filling conditions to stabilize after product or line changes. | Use a consistent product-handling procedure and check for bubbles or foam using the method appropriate to the product. | Product uniformity, visible bubbles or foam, and fill-weight or fill-level trends. |
| 5. Container position and variation | Misaligned, unstable, or inconsistent containers can cause splashes, missed fills, and inaccurate level readings. | Adjust guides and handling equipment to position containers consistently and reduce avoidable stops. | Check container dimensions and stability, and confirm the nozzle is correctly positioned over the opening. | Container alignment, handling stoppages, spills, and fill-level variation. |
| 6. Calibration and check frequency | Incorrect settings or gradual drift can produce out-of-target fills even when the line runs quickly. | Use a documented setup routine and schedule checks around product changes, adjustments, and normal production intervals. | Verify samples with a suitable calibrated scale or measurement method; follow applicable process and regulatory requirements. | Measured fill results, calibration status, adjustment history, and out-of-specification checks. |
| 7. Changeovers and operator standard work | Unclear settings or inconsistent changeover steps can extend downtime and introduce avoidable variation. | Document product-specific settings, cleaning steps, and startup checks so operators can repeat the setup consistently. | Require a first-off verification after a changeover or adjustment before running at the planned production rate. | Changeover time, first-off results, unplanned stops, and recurring adjustment causes. |
Note: The effects and checks shown are general process guidance. Confirm operating limits, product requirements, and acceptance criteria for the specific filling system and product.
Confirm hoses are seated, nozzles are clean, and seals have no cracks or residue. Keep containers and product within easy reach. Small details matter.
Check product temperature and viscosity against your process settings. Keep enough correctly stored material ready for the planned run. Cover open containers when appropriate.
Start at a moderate speed. Adjust the cutoff in small steps, then weigh several consecutive fills with a verified scale. Record the average and variation.
No. One perfect sample proves little. Compare multiple fills, including containers from the start, middle, and end of a run.
Check at regular intervals, such as every 30 minutes, and after product changes. Also check after startup, cleaning, or nozzle adjustments.
Log fill weight, cycle time, product temperature, and visible drips. Note each adjustment and its result. Write it down.
Warmer product may flow faster, while a nearly empty hopper can make delivery less consistent. Nozzle wear or pressure changes may also affect results.
Adjust one setting at a time, then weigh the next few fills. Check for valve response issues or drips after shutoff. Then test again.
Memory can miss recurring patterns. A short written review helps show whether an adjustment improved both speed and consistency. I used to trust memory. That was a weak habit.
Improving filling performance requires more than simply increasing machine speed. Product viscosity, temperature, container shape, and equipment condition can all affect how quickly materials flow and how accurately each container is filled. Before production, prepare clean, well-maintained equipment and ensure the material is mixed and supplied consistently. Stable starting conditions help reduce interruptions, splashing, foam, and variation between fills.
To learn how to improve filling speed without losing accuracy, position nozzles carefully, secure containers, and adjust flow rate, timing, and other controls in small steps. Calibrate the system against the desired fill volume, then check samples regularly using reliable measurements. Watch for changes in material flow, temperature, or container alignment, and make adjustments when needed. By combining thoughtful setup, measured calibration, and ongoing monitoring, operators can increase output while keeping fill volumes consistent and minimizing waste.

 Selltrion Packaging